Steel roofing sheets are an excellent system to choose for commercial and residential buildings. They have become a firm favourite with builders, renovation contractors, and premises owners. This is due to their longevity, durability, weather resistance, energy efficiency, mould, and mildew preventative characteristics.
Working at height is hazardous, so you must take appropriate safety measures such as wearing a hard hat, and protective clothing. If you are an employer or self-employed roofing contractor, UK law requires you to conduct a formal risk assessment.
Installing steel roofing sheets is a robust and durable choice for protecting your home from the elements. Whether you’re embarking on a DIY project or simply want to understand the basics before hiring a professional, this step-by-step guide will help you get started. We’ll begin with an overview of the essential tools and materials you’ll need to start your steel roofing installation project.
Step 1: Safety First
Before diving into any roofing project, it’s crucial to prioritise safety. Ensure you have the following safety gear:
- Safety glasses or goggles
- Gloves
- Hard hat
- Appropriate footwear with non-slip soles
- Dust mask
- Fall protection gear (if working at heights)
Step 2: Essential Tools
Gather the necessary tools for a smooth installation:
- Tape measure
- Chalk line
- Claw hammer
- Screwdrivers (both flathead and Phillips)
- Utility knife
- Tin snips or electric shears for cutting
- Cordless drill or screw gun
- Caulking gun
- Ladder or scaffolding (if working at heights)
- Roofing nail gun or screw gun
- Silicone sealant
- Roofing underlayment
- Roofing screws or nails
Step 3: Materials and Steel Roofing Sheets
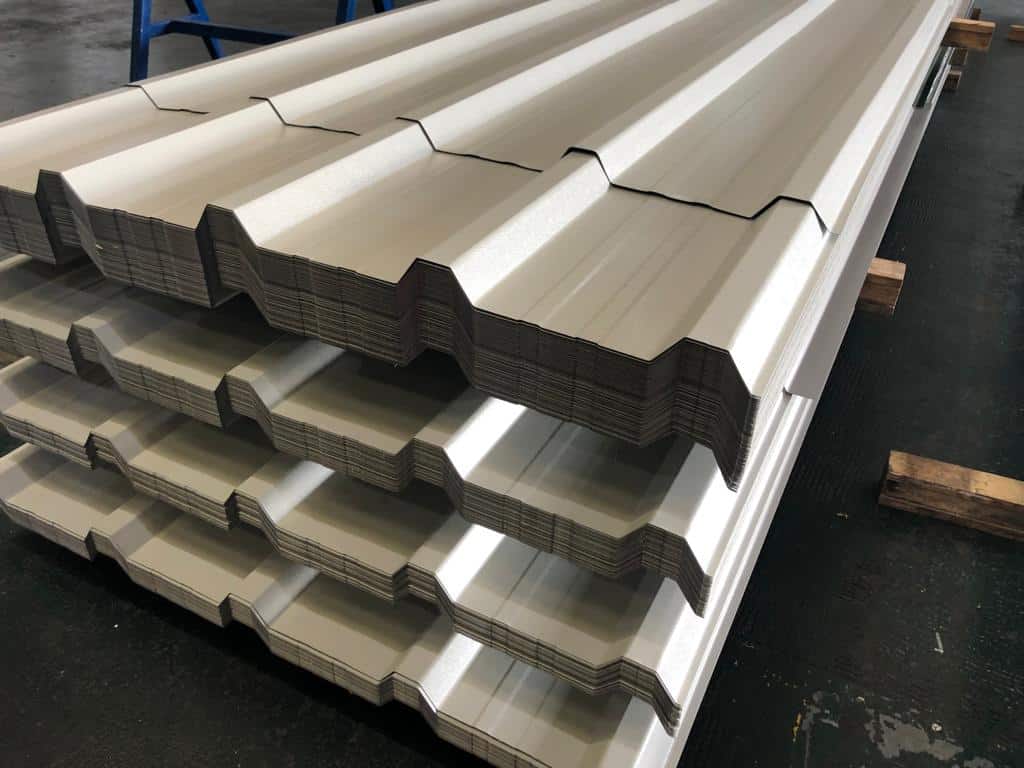
Select the appropriate steel roofing sheets for your project. Consider factors such as profile, gauge, and colour. Cardinal Steels manufactures and supplies a range of steel roofing sheets and metal roof cladding in a variety of profiles. Including box profile steel roofing sheets, corrugated roofing sheets, flat metal sheets, and insulated roofing. You’ll also need:
- Roofing sheets
- Ridge caps and flashing
- Hip caps (if necessary)
- Eave trim
- Gable trim
- Foam closures (for sealing gaps and preventing pests)
- Sealant tape
Step 4: Roof Preparation
Before you begin, make sure your roof structure is sound and properly sheathed. If not, consult a professional to make any necessary repairs or reinforcements.
Step 5: Measuring and Layout
Before you begin the installation, you will, of course, need to place an order for your roofing sheets. You should start by determining the number of roofing sheets you will need. With our CS 32/1000 box profile roofing sheets, ten sheets will cover a length of ten metres, with a one metre width after overlapping. Calculating the number of corrugated roofing sheets with a 990mm coverage can be more complicated. Start by measuring the roof’s dimensions accurately. Use a tape measure and chalk line to mark reference points for sheet placement. Ensure your sheets overlap correctly to prevent leaks. However, our team is on hand to make or confirm your calculations ahead of placing your order. The number of fixing screws, flashing, and fillers also need to be known.
Step 6: Cutting Steel Roofing Sheets
Before you get started, you should review with your team the basics of handling and cutting steel roofing sheets. Use tin snips or electric shears to cut sheets to the required length. Make sure your cuts are precise to maintain the integrity of the roofing system:
- Handling – The metal roofing sheets mustn’t be damaged during unloading or installation. Lifting equipment, such as a forklift truck, is the preferred method of unloading. Care should always be taken to avoid pulling or pushing one sheet across another. This could scratch the finish or protective coating. All packaging should be removed before placing the sheets on the roof. The sheets should be secured close to the rafter line, so they do not fall or blow off the roof. It is advisable to spread out the sheets in groups to distribute their weight across the roof structure evenly.
- Cutting – Cutting is safest on the ground, and to protect the sheet, it should be cut face down and supported on padded supports. A reciprocating saw or jigsaw can be used for small cutouts. While a circular saw with a cold-cut fine-toothed metal cutting blade should be used for long straight cuts. Other cutting tools suitable for working with metal roofing sheets include reciprocating nibblers and angle grinders fitted with a disc or small-toothed blade.
Step 7: Roofing Underlayment
Install a roofing underlayment to provide an extra layer of protection against moisture and to improve insulation. Secure it according to the manufacturer’s guidelines.
Step 8: Sheet Installation
The step-by-step instructions for installing steel roofing sheets are as follows:
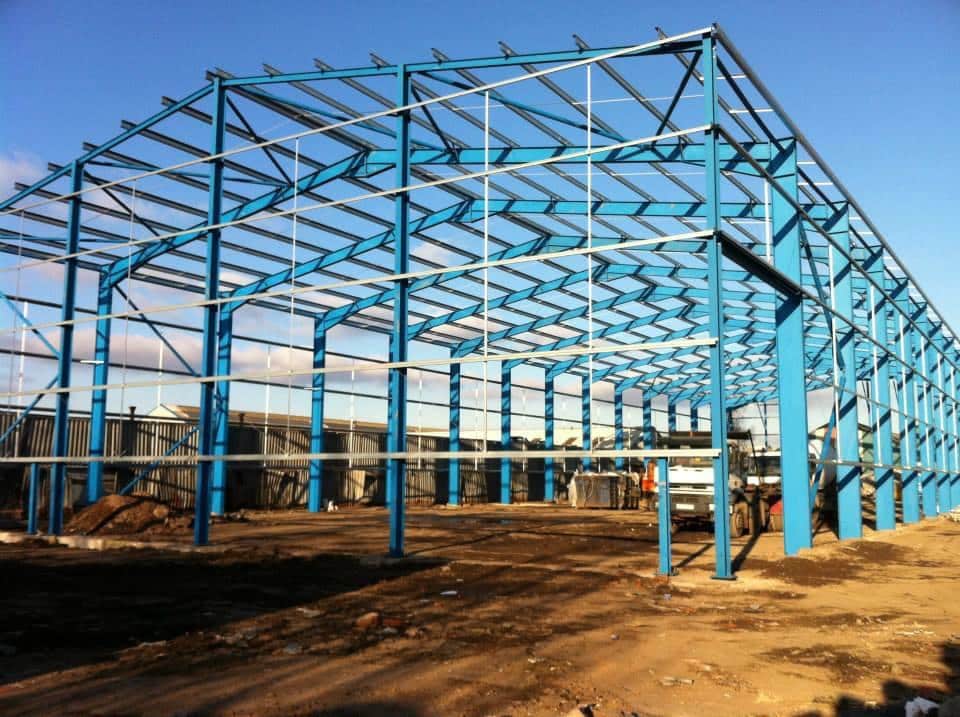
- Installing purlins – Purlins create a supporting framework that evenly spreads the load onto the building’s structure. A minimum purlin width of 50mm aids fixing. The purlins should be spaced at 1m intervals for 0.7mm roofing sheets. Once purlins are installed, you should make a visual inspection checking the level, alignment, and spacing. You should also check that no cleat bolt heads protrude on the outer framework face. Cardinal Steels produces a range of galvanised steel Z purlins and C Sections for butt, staggered, double-span, and fully sleeved arrangements.
- Laying and overlapping – Laying the roofing sheets should take place in runs, beginning at the far wind edge, preventing water ingress with lapped edges not facing the prevailing wind. The first sheet should be installed exactly perpendicular to the eaves to limit adjustments as more are laid. It will aid roofing installation if fixings are not fully fixed on the first few sheets, making any initial adjustments straightforward. Side laps should be of one profile or corrugation, and end laps should be at least 250mm with sufficient overhang at the bottom purlin for draining rainwater into the gutter.
- Fixing – Fixing the roofing sheets to the purlins should be done using self-tapping TEK screws designed for the purlin material (timber, light metal, or heavy metal). Cardinal Steel provides steel fixings with colour-matched screw caps. The fixings should be used on every second trough or third crest on corrugated sheets and every trough or crest at the bottom eaves. Side laps should be made weather-tight using Butyl lapping tape and stitchers.
Step 9: Ridge Caps and Flashing
Install ridge caps at the roof’s peak and use flashing to seal any openings around vents, chimneys, or other roof penetrations. Proper flashing is essential to prevent leaks.
Step 10: Sealing and Cleaning
Use silicone sealant on all exposed screws or nails and any gaps in the roofing system. This will prevent moisture from penetrating and improve the roof’s longevity. Clean up the work area to ensure safety and aesthetics.
Cardinal Steels Roofing Sheets
Getting started with a steel roofing installation project requires the right tools, materials, and a strong commitment to safety. By following these steps, you’ll be well-prepared to begin your project, whether you’re doing it yourself or supervising a professional. Remember that a well-installed steel roof can provide reliable protection and add value to your home.
Cardinal Steels manufactures and supplies a range of steel roofing sheets and metal roof cladding in a variety of profiles. Including box profile steel roofing sheets, corrugated roofing sheets, flat metal sheets, and insulated roofing. We supply metal galvanised roof sheets to the industrial, commercial, residential, and agricultural sectors. Our metal roof cladding sheets are an ideal solution for garages and carports, garden rooms, workshops, barns, stables, factories, and warehouses. To enquire further about our steel roofing sheets or for installation advice, please contact our team today.