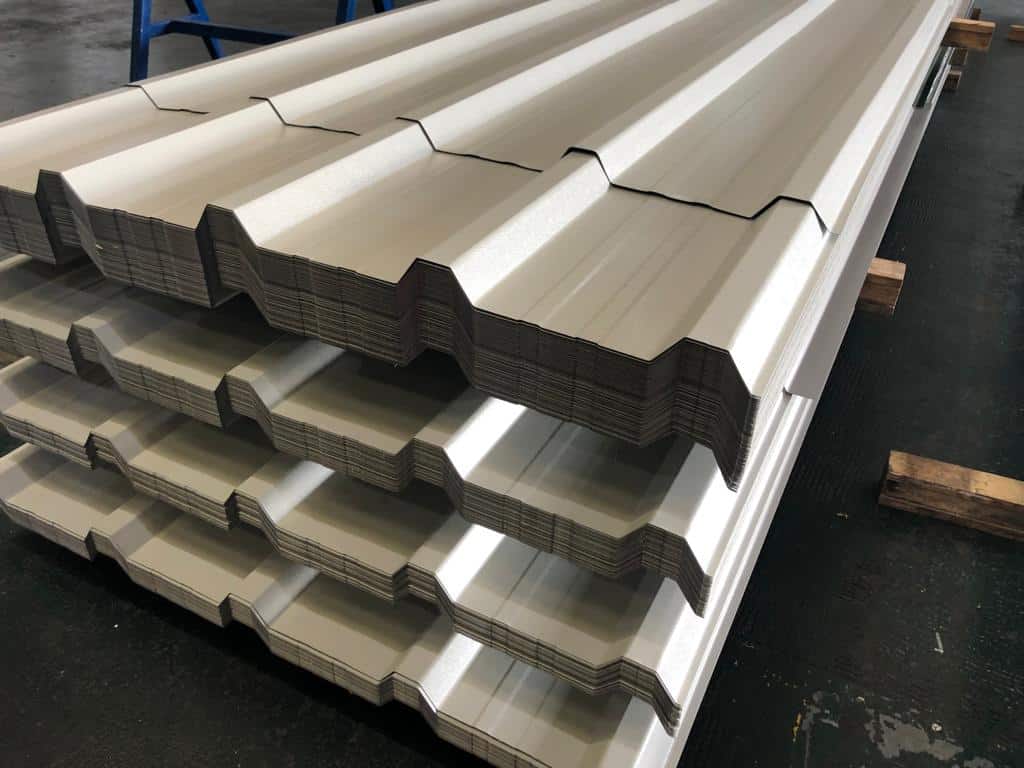
Your metal roof sheets’ underlayment acts as an essential protective layer, playing a vital role in waterproofing, insulation and extending the overall life of your roof. Whether you’re a homeowner embarking on a DIY build or a contractor managing large-scale installations, knowing how to properly install underlayment for metal roofing sheets is crucial.
This article covers everything you need to know: what underlayment is, why it’s needed, the different types available and a step-by-step installation guide. We’ll also discuss common mistakes to avoid and offer expert tips to ensure your metal roof performs to its full potential.
What is Roofing Underlayment?
Roofing underlayment is a water-resistant or waterproof barrier material that gets installed directly onto the roof deck, underneath the metal sheets. It acts as a secondary line of defence against water infiltration, especially in cases of wind-driven rain, ice dams or condensation beneath the panels. This protective layer can be made from a range of materials, and offers various benefits including:
- Moisture control – Prevents water from penetrating into the roof deck
- Thermal protection – Adds insulation value and reflects radiant heat
- Noise reduction – Damps sound from rain and thermal expansion
- Improved longevity – Enhances durability and performance of the roofing system
Types of Underlayment for Metal Roofs
When it comes to metal roofing systems, choosing the right underlayment is not a one-size-fits-all decision. Each type of underlayment offers unique properties tailored to specific climates, building structures and performance expectations. Below, we break down the differences between these underlayment types to help you determine which is best suited for your environment, roof pitch and budget.
1. Non-Breathable Felt Underlayment (Asphalt-Saturated Felt)
Asphalt-saturated felt is a traditional and budget-friendly roofing underlayment. Made by soaking organic or fibreglass matting in asphalt, it provides basic water resistance and is easy to install. While suitable for short-term use or dry climates, it’s less durable than manyof the modern alternatives available and can tear easily during installation or high winds. It’s best reserved for low-risk projects or as a temporary solution.
Advantages |
Drawbacks |
|---|---|
|
|
|
|
|
|
|
|
|
2. Synthetic Underlayment
Synthetic underlayment is a modern upgrade over felt, offering greater strength, flexibility and resistance to moisture. Made from lightweight polymers, it’s easy to handle and highly tear-resistant, making it ideal for larger or more exposed roofs. It holds up well against UV damage during installation and offers longer-term reliability. Though more expensive than felt, it delivers better performance and is suited to most residential and commercial applications.
Advantages |
Drawbacks |
|---|---|
|
|
|
|
|
|
|
|
|
3. Self-Adhering (Peel-and-Stick) Underlayment
Peel-and-stick underlayment creates a tight, watertight seal by bonding directly to the roof deck. Its self-sealing design around nails makes it particularly effective in preventing leaks. This makes it ideal for vulnerable areas like eaves, valleys and low-pitch roofs. While it comes at a higher cost and requires precise installation, it offers unmatched protection in severe weather and ice-prone environments.
Advantages |
Drawbacks |
|---|---|
|
|
|
|
|
|
|
|
|
4. Breathable Membranes
Breathable underlayments are designed to block external moisture while allowing internal vapour to escape. This helps control condensation, particularly in timber-framed or well-insulated buildings. They’re most effective when paired with proper roof ventilation and are commonly used in homes across damp or cooler climates. Though pricier than felt, their ability to protect against moisture damage makes them a wise investment in residential builds.
Advantages |
Drawbacks |
|---|---|
|
|
|
|
|
|
|
|
|
Choosing the Right Underlayment
Your choice of underlayment will ultimately depend on several key factors that relate to both your building’s requirements and environmental conditions:
Consideration |
Best Underlayment Type |
|---|---|
|
|
|
|
|
|
|
|
|
|
|
|
|
Step-by-Step: Installing Underlayment for Metal Roofing
Step 1: Prepare the Roof Deck
Ensure the surface is dry, clean and free from protruding nails or debris. Inspect for rot or damage before proceeding. A solid, flat deck is critical for a smooth underlayment fit.
Step 2: Install Eave Flashing (Optional)
In areas prone to ice dams or heavy rainfall, fit a drip edge or eave flashing before underlayment. This channels water away from the deck edges.
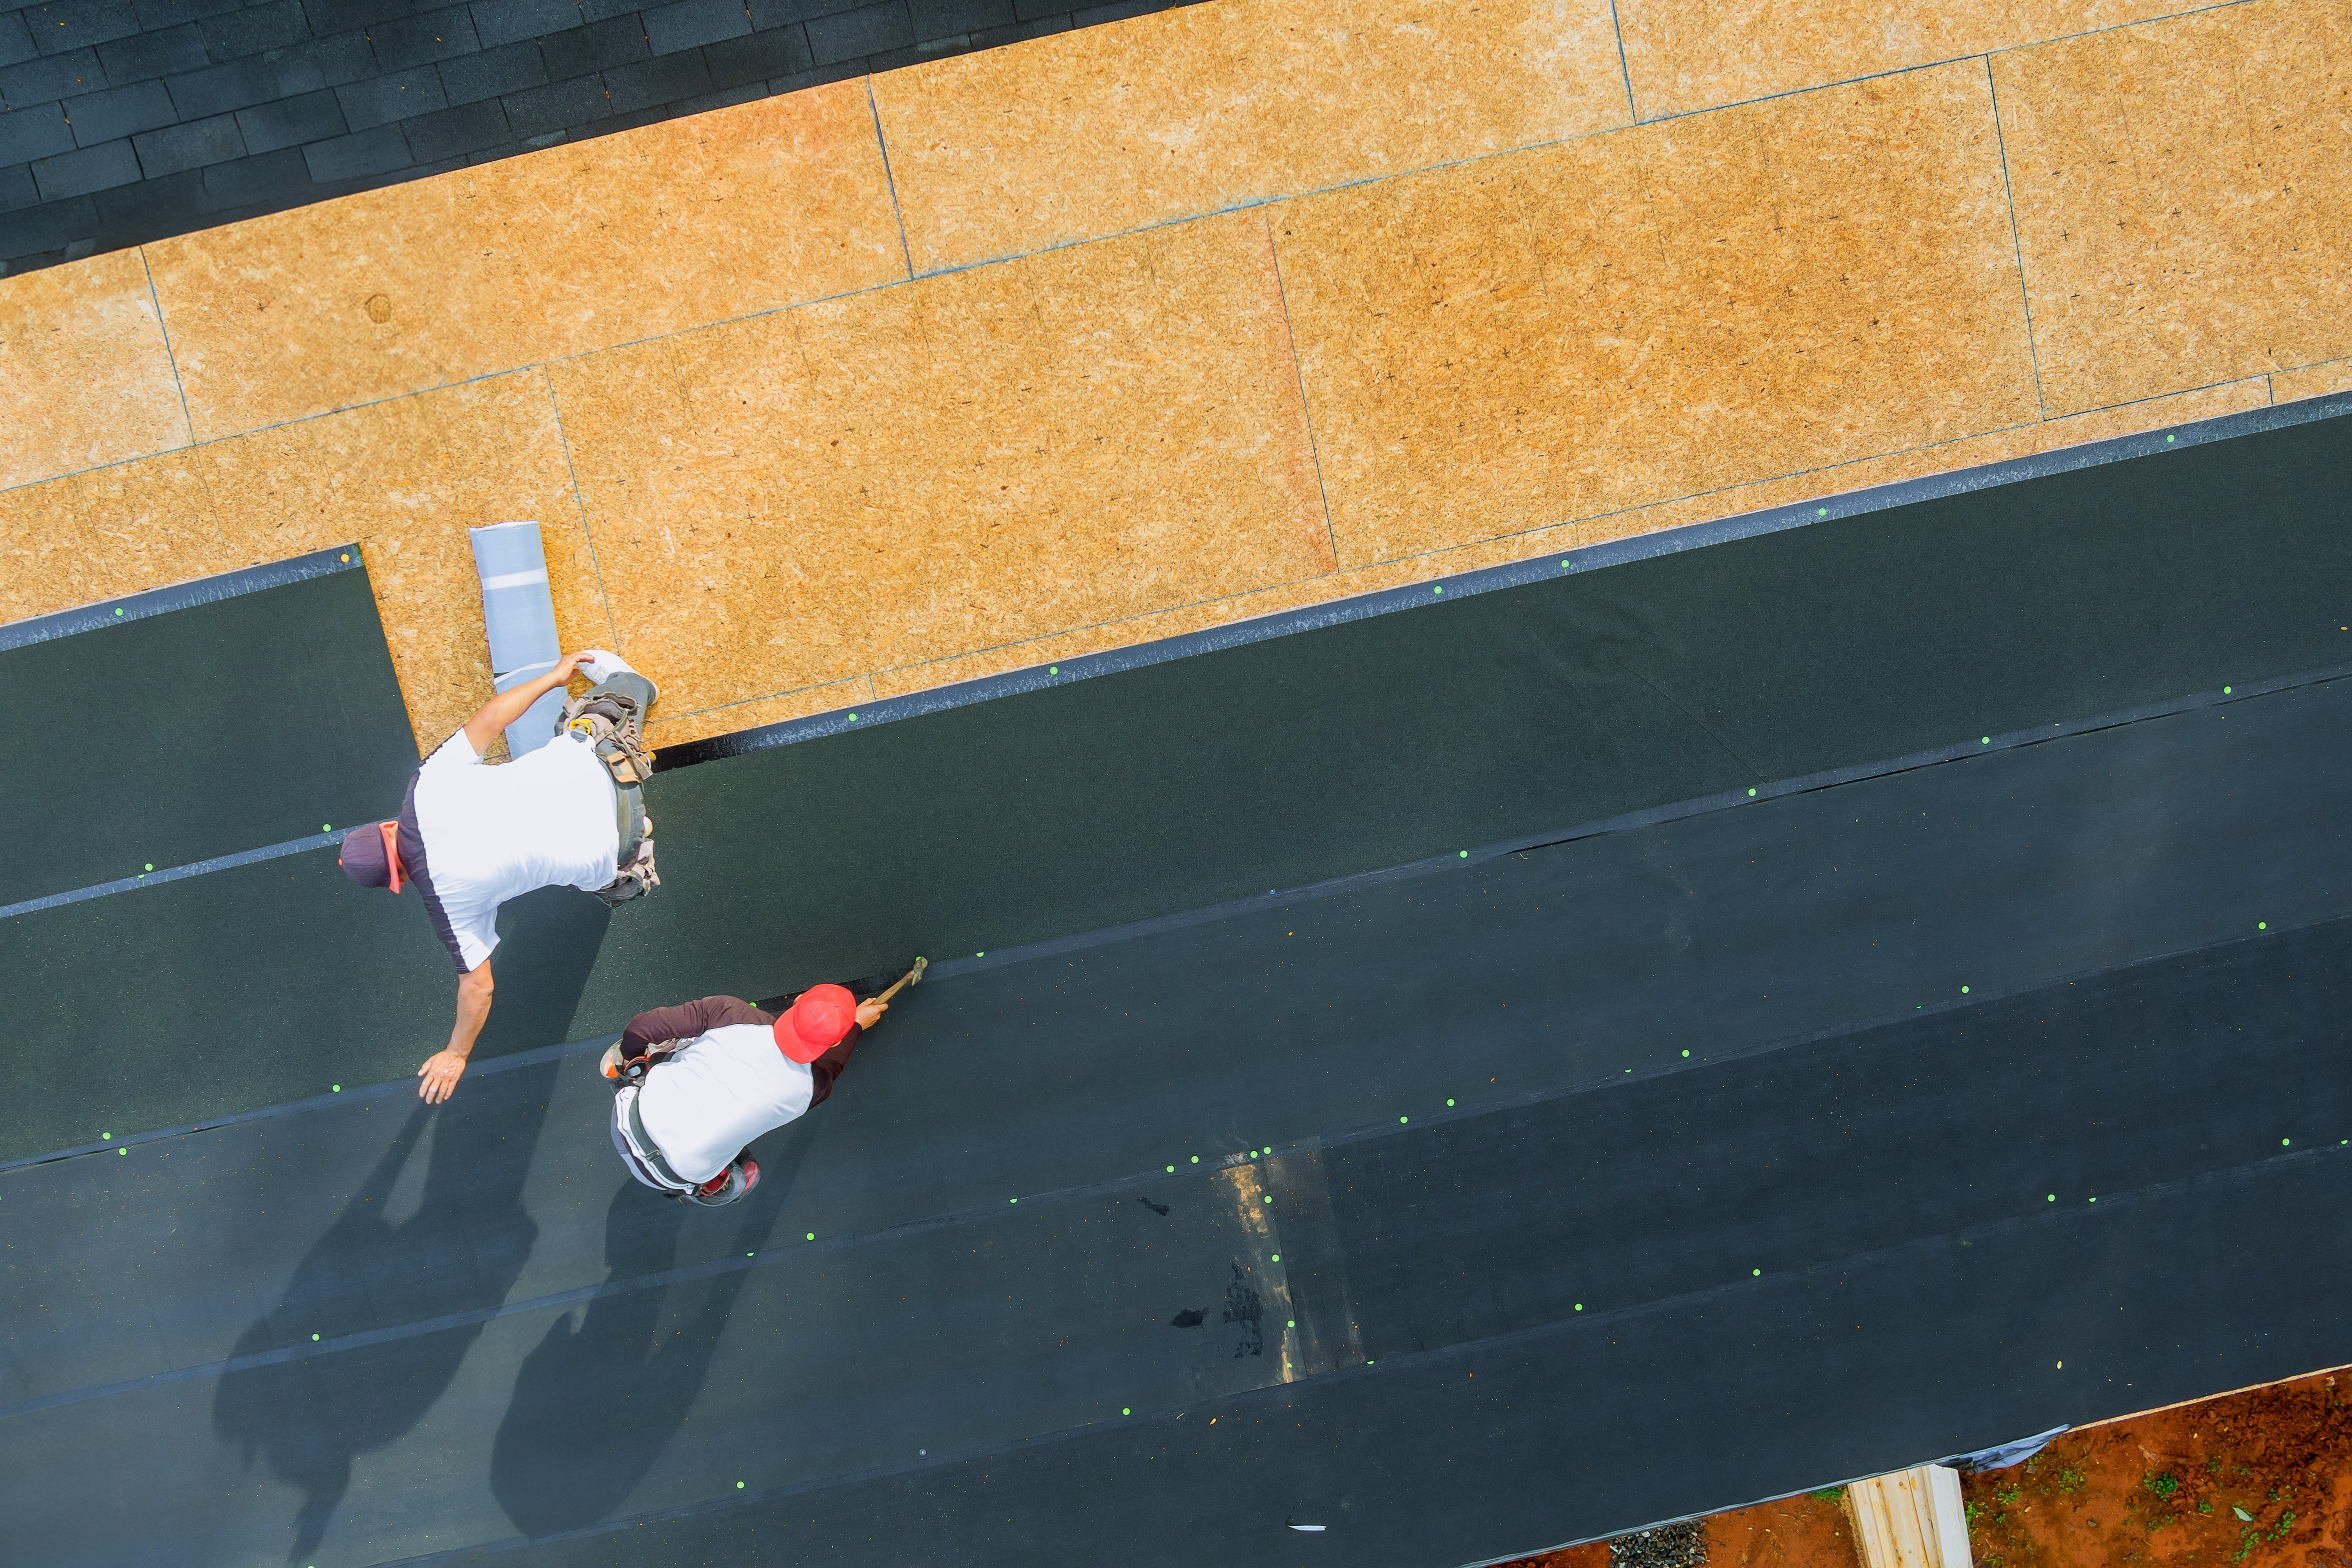
Step 3: Begin at the Eaves
Roll out the underlayment starting at the eaves, working horizontally toward the ridge. Use a chalk line to guide alignment. Ensure the material overhangs the eaves by around 10–15 mm.
Step 4: Secure the Underlayment
Fix the underlayment in place using appropriate fasteners:
-
Felt: Roofing nails with wide plastic caps
-
Synthetic: Manufacturer-specified nails or staples
-
Peel-and-stick: No fasteners needed; roll with pressure to activate adhesion
Fasten every 300 – 600mm along the horizontal and vertical seams to prevent wind uplift.
Step 5: Overlap Successive Rows
Each new roll should overlap the one below it by at least:
-
100mm for horizontal laps
-
150mm at vertical seams or hips/ridges
In high-slope or exposed areas, consider adding a bead of roofing sealant along overlaps.
Step 6: Flashing Around Openings
Use additional flashing or pre-formed membrane pieces to seal around skylights, vents or chimneys. Peel-and-stick membranes are particularly effective here.
Step 7: Ridge Cap and Final Row
Once you reach the ridge, apply the final piece of underlayment so it overlaps both sides of the roof evenly. For added protection, install a ridge underlay roll perpendicular to the rest.
Maintenance and Inspection
Once the metal roof is installed, the underlayment becomes hidden beneath the sheets and is no longer visible during routine inspections. However, it still plays a vital role in the roof system’s performance, especially over time. During renovations, re-roofing or any major repair work where panels are removed, it’s important to assess the condition of the underlayment.
- Look out for signs of wear such as tearing, curling or lifting at the edges, which could compromise its ability to keep moisture out.
- Ensure all penetrations around vents, chimneys or fixings remain properly sealed, as these are common failure points.
- It’s also essential to check for evidence of trapped moisture, such as mould, staining or a damp smell beneath the metal sheets, which may indicate poor ventilation or water ingress.
If any damage is discovered, the affected sections of underlayment should be repaired or fully replaced to restore the integrity of the roof system. Proactively addressing underlayment issues during repairs helps avoid further problems and extends the overall lifespan of your metal roof.
Conclusion
Properly installing underlayment for metal roofing sheets is key to protecting your roof from the elements and ensuring long-term performance. Whether you choose felt, synthetic, peel-and-stick or breathable membrane, the key is correct installation and matching the material to your roof’s demands.
If you’re unsure which product suits your project best, speak with your metal roofing supplier – they can recommend compatible underlayments and even provide installation guides or samples.