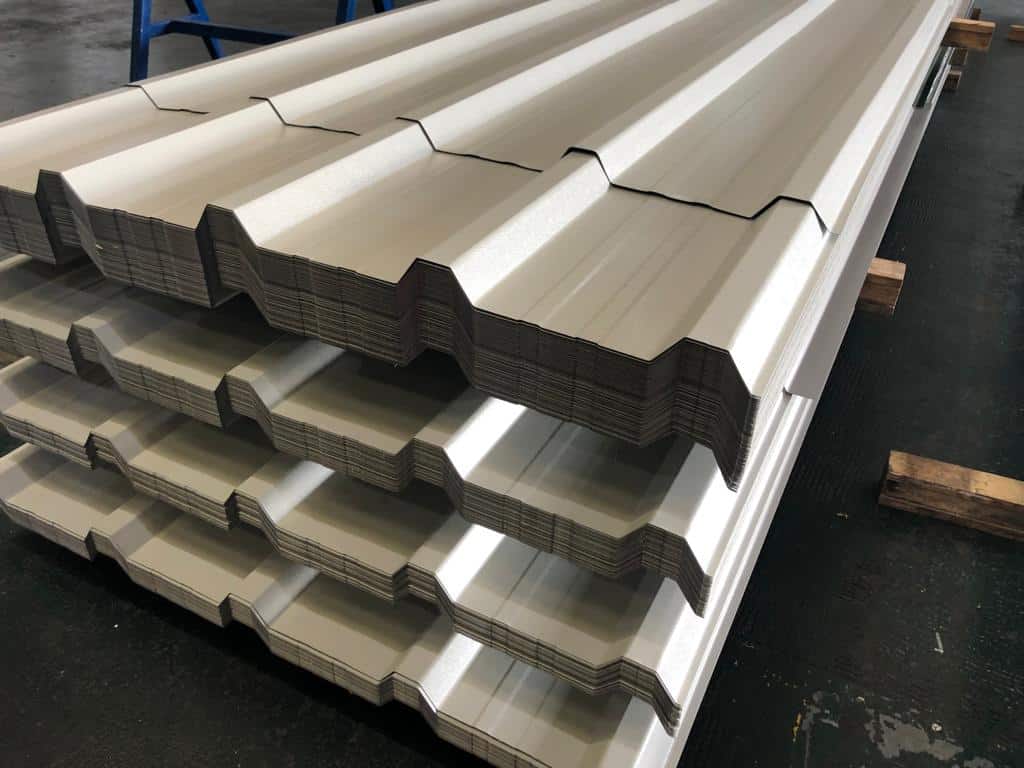
You’ve measured twice, ordered your steel roofing sheets, and they’ve arrived on site. Then reality hits: that chimney penetration isn’t quite where the plans showed it, the gable end needs a custom angle cut, or you’ve discovered an unexpected obstruction that means your perfectly sized sheets now need modification. Sound familiar?
Cutting steel roofing sheets on-site is one of those skills that separates smooth installations from frustrating delays and costly mistakes. This guide covers everything from choosing the right cutting tools through to advanced techniques for handling complex cuts, showing you exactly how to cut sheet metal roofing safely and accurately for professional results every time.
Why Cut Steel Roofing Sheets On-Site?
While many roofing suppliers can pre-cut sheets to specification, there are numerous situations where on-site cutting becomes necessary. Site measurements often reveal discrepancies from initial plans, requiring precise adjustments that weren’t anticipated during the ordering process. Ridge lines, valleys, and penetrations for chimneys or vents frequently demand custom cuts that simply cannot be predetermined.
Weather conditions can also play a role in the decision to cut on-site. Wind can cause sheets to flex during transport, potentially damaging pre-cut edges. Additionally, having the flexibility to make adjustments as you work allows for better fitting around obstacles and ensures a more professional installation overall.
Essential Tools for Cutting Steel Roof Sheets
The success of your cutting operation largely depends on having the right tools for the job. Each cutting method offers distinct advantages depending on your specific requirements and skill level.
Tin Snips and Aviation Shears
For smaller cuts and detailed work, tin snips remain the most accessible option. Straight-cut snips work well for basic cuts, while left and right-cutting aviation shears provide better control when navigating curves. These tools are particularly useful for trimming around vents, cutting small notches, or making final adjustments during installation.
Electric Shears
When you need to cut steel roofing sheets along longer lines, electric shears offer significant advantages over hand tools. They provide cleaner cuts with less physical effort and create minimal distortion to the metal. The nibbling action of electric shears also produces narrow strips of waste metal rather than creating large offcuts.
Circular Saws with Metal Cutting Blades
For straight cuts across full sheets, a circular saw fitted with a metal cutting blade delivers speed and accuracy. Choose blades specifically designed for cutting sheet metal roofing, as these feature carbide teeth that maintain sharpness longer and produce cleaner cuts. This method works particularly well when you need to reduce sheet width or length significantly.
Angle Grinders
While angle grinders can cut through steel roofing effectively, they require careful handling and appropriate safety equipment. They’re best reserved for situations where other tools cannot achieve the required cut, such as removing damaged sections or cutting through multiple layers.
Preparing for the Cutting Process
Proper preparation significantly impacts both the quality of your cuts and your safety during the process. Begin by carefully measuring and marking your cutting lines using a straight edge and permanent marker. Double-check all measurements before cutting, as mistakes in steel roofing can be costly and time-consuming to rectify.
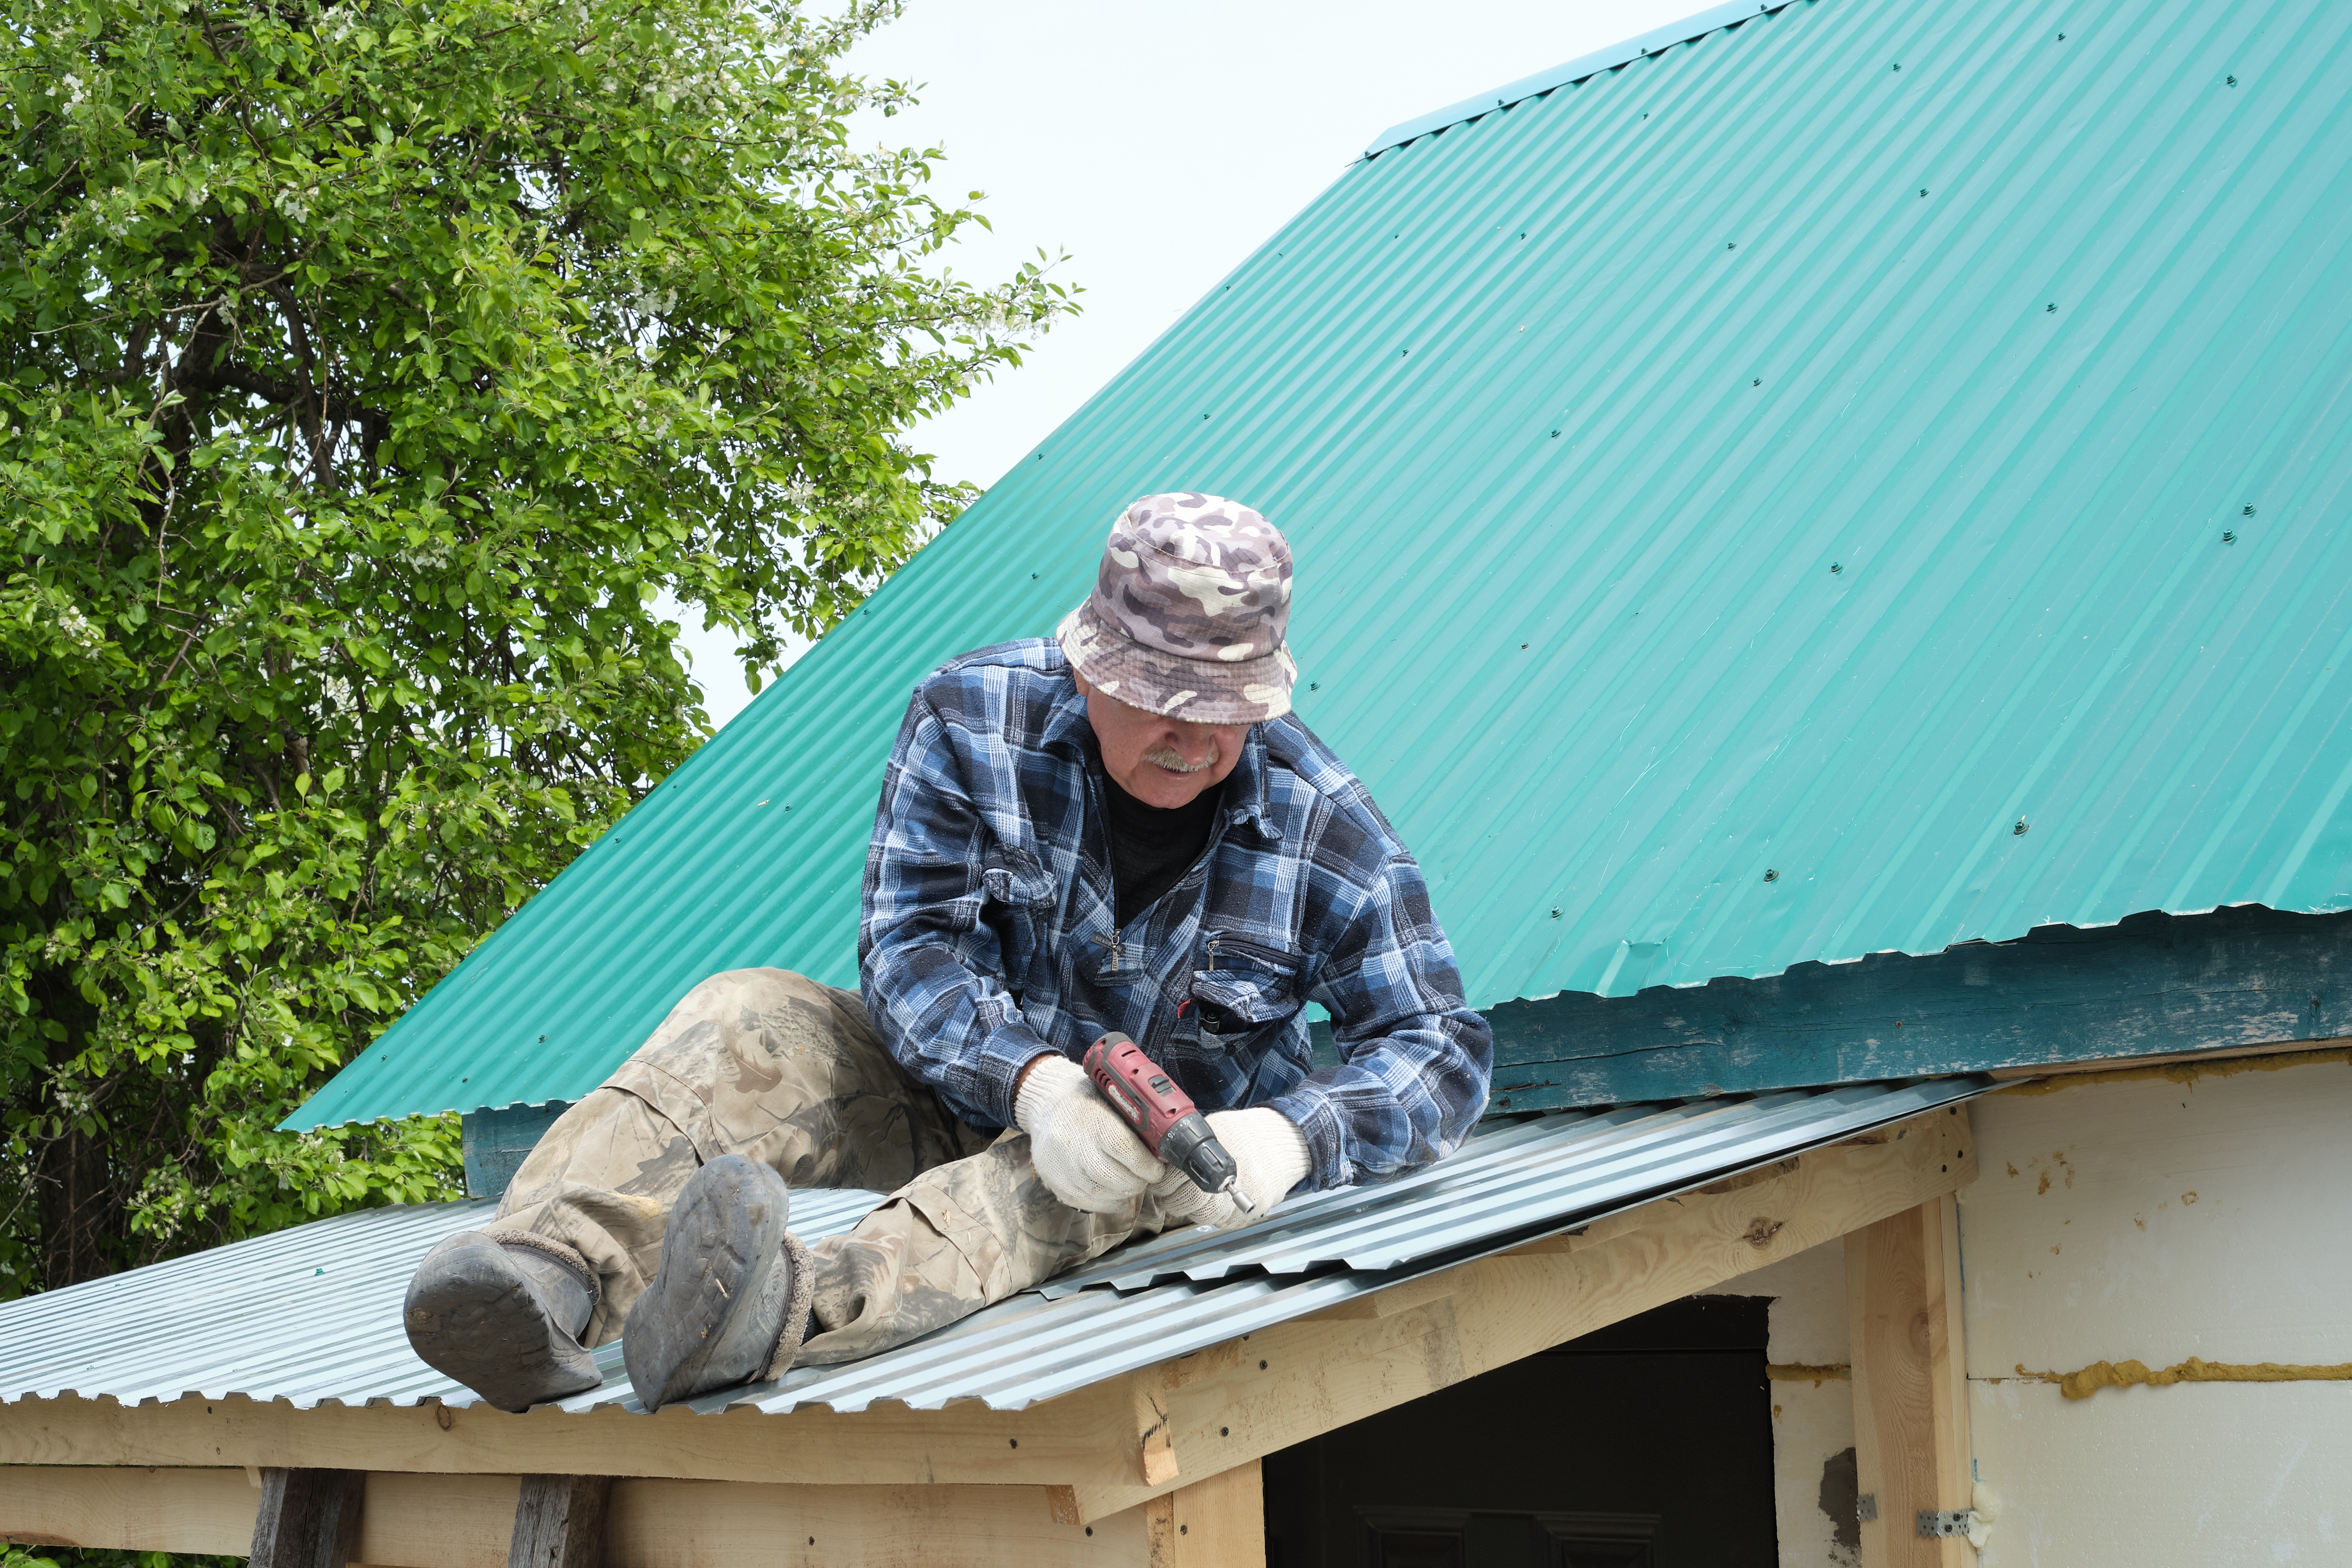
Clear your work area of any debris and ensure you have adequate lighting to see your cutting lines clearly. When working on a roof, ensure your workspace is stable and safe, with proper fall protection in place. Weather conditions should also be considered, as wind can make handling large sheets dangerous and affect cutting accuracy.
Step-by-Step Cutting Process
Planning Your Cuts
Start by laying out all your cuts on paper or using marking tape on the sheets themselves. This approach helps you visualise the cutting sequence and identify any potential issues before you begin. Consider the grain direction of the steel and plan your cuts accordingly to minimise waste and maintain structural integrity.
Making the Initial Cut
Begin cutting from the edge of the sheet rather than attempting to start in the middle. This approach provides better control and reduces the likelihood of the metal buckling or distorting. Maintain steady pressure and follow your marked lines carefully, allowing the tool to do the work rather than forcing the cut.
Managing Heat Buildup
When using power tools, heat buildup can affect both the tool’s performance and the quality of the cut. Take regular breaks to allow tools to cool down, and consider using cutting fluid or lubricant to reduce friction and heat generation. This is particularly important when cutting thicker gauge materials or making extended cuts.
Finishing Edges
After completing your cuts, examine all edges for burrs or sharp projections. Use a file or deburring tool to smooth any rough edges, as these can cause injury during installation and may affect the weather sealing properties of your roof. Clean cuts with smooth edges also contribute to the overall professional appearance of the finished installation.

Safety Considerations When Cutting Steel Sheets
Working with steel roofing sheets presents several safety challenges that require careful attention. The material itself can be sharp, and cutting processes often produce metal shavings and burrs that pose injury risks.
Always wear appropriate personal protective equipment, including safety glasses, hearing protection when using power tools, and cut-resistant gloves. Long sleeves and long trousers provide additional protection against sharp edges and metal debris.
Be particularly cautious of the metal strips and shavings produced during cutting, as these can easily cause cuts and may become embedded in skin. Keep your work area clean and sweep up metal debris regularly to prevent slips and falls.
Common Cutting Challenges and Solutions
Dealing with Corrugated Profiles
Steel roofing sheets often feature corrugated or ribbed profiles that can complicate the cutting process. When cutting across the corrugations, support the sheet adequately to prevent distortion. For cuts along the length of corrugations, work slowly and allow your cutting tool to follow the natural curves of the profile.
Managing Sheet Movement
Large sheets can be difficult to control during cutting, particularly in windy conditions. Use clamps or weights to secure the sheet, but position them away from your cutting line to avoid interference. Having an assistant to help support large sheets during cutting can significantly improve both safety and cut quality.
Preventing Damage to Protective Coatings
Many steel roofing sheets feature protective coatings that can be damaged by excessive heat during cutting. Choose cutting methods and speeds that minimise heat generation, and avoid dragging cut edges across the coating surface. Remove any metal filings promptly to prevent scratching.
Preparing Cut Sheets for Installation
Once your cutting is complete, proper preparation ensures successful installation:
- Check all cut edges for smoothness and remove any burrs with a file or deburring tool
- Treat compromised areas where protective coating has been damaged with manufacturer-matched touch-up paint
- Clean the sheets to remove metal filings and debris
- Store carefully with protective material between stacked sheets
- Avoid placing heavy items on cut sheets that could cause denting or scratching
Conclusion
Mastering how to cut steel roof sheets is an essential skill that can make the difference between a professional-looking installation and a substandard result. From selecting the right tools and preparing your workspace through to executing clean cuts and maintaining safety throughout the process, each step contributes to the success of your roofing project.
Remember that practice makes perfect, and there’s no substitute for taking your time to ensure accuracy and safety. Whether you’re making minor adjustments or undertaking extensive modifications, the techniques outlined in this guide will help you achieve the results you’re looking for.