

- Measuring your roof
- Pitch, purlins and overlaps
- Fixing through the crown
- Commercial two-sheet runs
Online Calculator
Follow our step by step calculator to get your steel roofing quote direct from Cardinal Steels
Installing Corrugated Roofing Sheets
This guide covers how to install corrugated roof sheets from measuring your roof through to fixing, flashings and ridge details. The second section covers commercial buildings where two sheets are needed to cover each run.
1. Single Slope Roofs
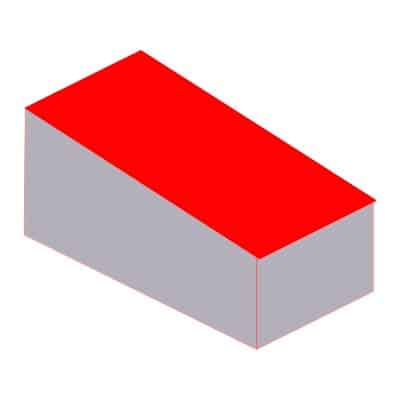
A single slope roof, also known as a mono-pitch or lean-to roof, requires accurate length and width measurements for us to quote your sheeting needs.
- The width determines how many sheets you’ll need.
- The length determines the sheet length required.
2. Apex Roofs
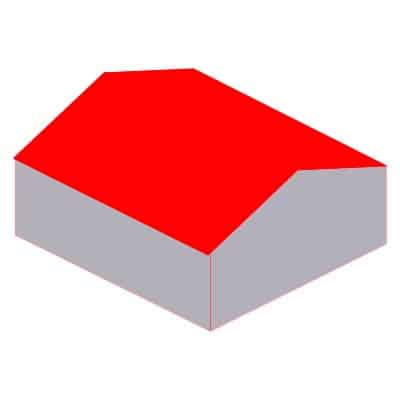
Apex roofs meet at a central ridge. To calculate your sheeting requirements, measure from the ridge down to the eaves on both sides, as roof dimensions can vary. If the apex is uneven, record each side separately.
Top Tip: Take measurements in multiple places to ensure the roof is square. If dimensions differ, always order sheets to the longest measurement.
3. Roof Pitch & Purlin Spacing
Corrugated sheets require a minimum pitch of 4°. If unsure seek guidance from a structural engineer. Typical purlin spacing:
- 0.7mm sheets: up to 1.2m apart
- 0.5mm sheets (usually for cladding) no more than 1m apart
These figures are recommended guidelines, always check suitability for your project.
4. Side-Lap Overlaps
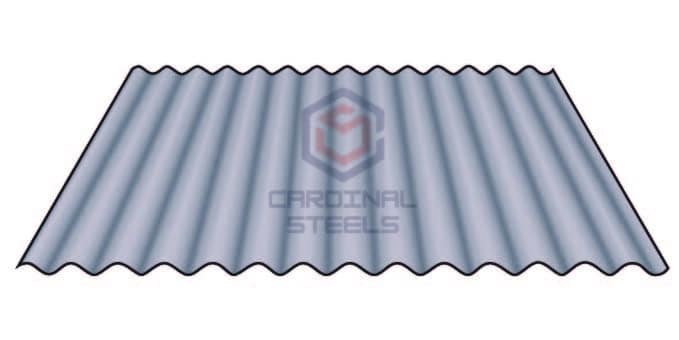
Before fixing, position sheets on the roof to confirm the correct overlap. Sheets must overlap by at least one profile side to side. Colour caps can be added to match the sheet colour and cover exposed screw heads.
5. Fixing Sheets
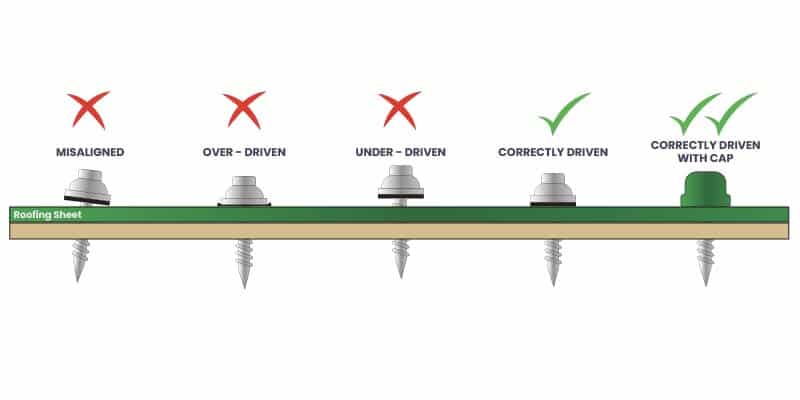
Fix corrugated roof sheets through the crown (highest point) of the profile. We recommend using our self-drilling, self-sealing Tek screws. See our Tek screw installation guide for screw placement.
Top Tip: Avoid over-tightening or under-tightening screws, as this can affect washer performance and waterproofing.
6. Colour Caps
Colour caps offer a neat finish by matching or contrasting with your chosen sheeting while concealing screw heads and washers.
7. Flashings and Finishing Edges
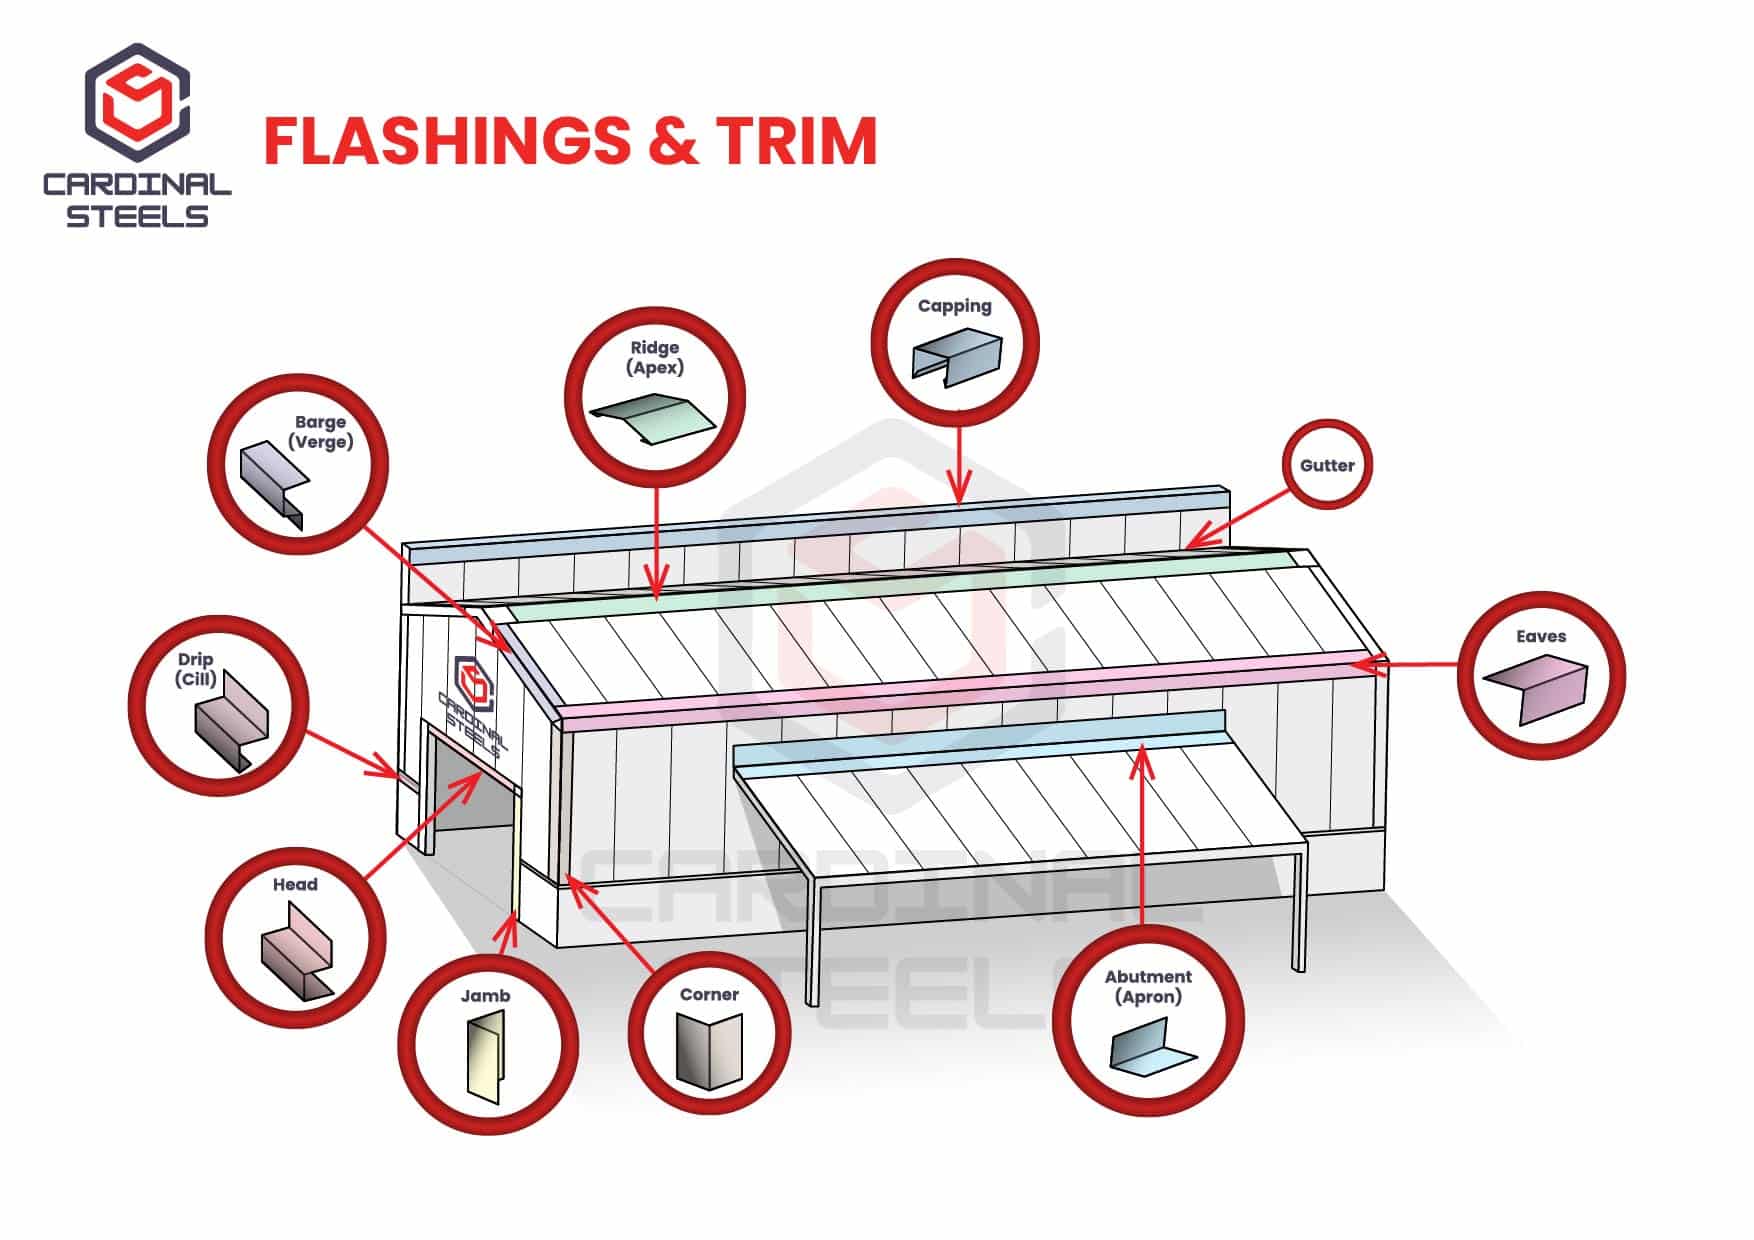
Once the sheet is installed, use flashings to seal the sides and apex. Barges help weatherproof the edges while providing a clean finish.
- Minimum overlap on barge flashings: 200mm
- Use 22mm stitcher screws to secure flashings
8. Ridge Flashings
Ridge flashings are used on apex roofs, while single-slope roofs may require a custom design. Fix ridges using stitcher screws through the flashing into the sheets. Always install ridge flashings oppisite the prevailing wind, overlapping each section by at least 200mm.
9. Ridge Fixings & Weatherproofing
Use Tek-type stitcher screws through the highest point of each profile. Ridge fillers help prevent water ingress and keep out birds and vernim. Ridge and barge flashings can be supplied to match your chosen roofing sheets.
Commercial Buildings & Two-Sheet Runs
We supply corrugated sheets in lengths up to 12m, so longer roof runs require a two-sheet run. This section covers the additional points for commercial buildings, including sheet laying order, end laps, flashings, foam fillers and roof lights.
1.Roof Pitch and Purlins
A minimum of 4° is required for corrugated roof sheets. For two-sheet runs, ensure a purlin supports the sheet overlap. Recommended spacing:
- 0.7mm sheets approx. 1.2m
- 0.5mm sheets approx. 1m
2. Sheet Laying Order
For two-sheet runs, begin at the eaves on the corner opposite the prevailing wind to reduce the risk of side-lap water ingress. Ensuring the first sheet is square prevents a “saw-tooth” effect at the eaves.
3. Custom Flashings
Custom flashings can be manufactured to match your steel sheeting and provide essential weatherproofing, particularly where sheet runs meet at the ridge.
4. End-Lap Overlaps and Roof Lights
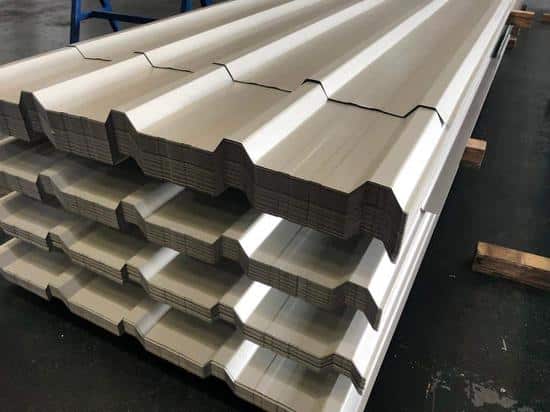
Where two sheets meet, allow a recommended minimum 200mm overlap. Roof lights can be positioned between steel sheets but must be supported on both sides. Side overlaps must be at least one profile.
5. Side Laps and End Laps
- Side-lap overlaps: minimum one profile.
- End-lap overlaps: recommended minimum 200mm
Top Tip: Clear any debris during installation to avoid damaging the sheet coating.
6. Barge Flashings
Use barge flashings to seal and finish roof edges. Mastic lapping tape and stitcher screws help ensure a durable, weather-resistant joint.
7. Stitcher Screw Spacing
Stitcher screws should be spaced no more than 400mm apart when fixing flashings. Colour caps can be added for a clean finish.
8. Foam Fillers
Eaves and ridge foam fillers improve weather resistance and prevent bird and vermin entry. Use a flexible, waterproof siliconce to bond fillers continously across the sheet width.
9. Roof Lights
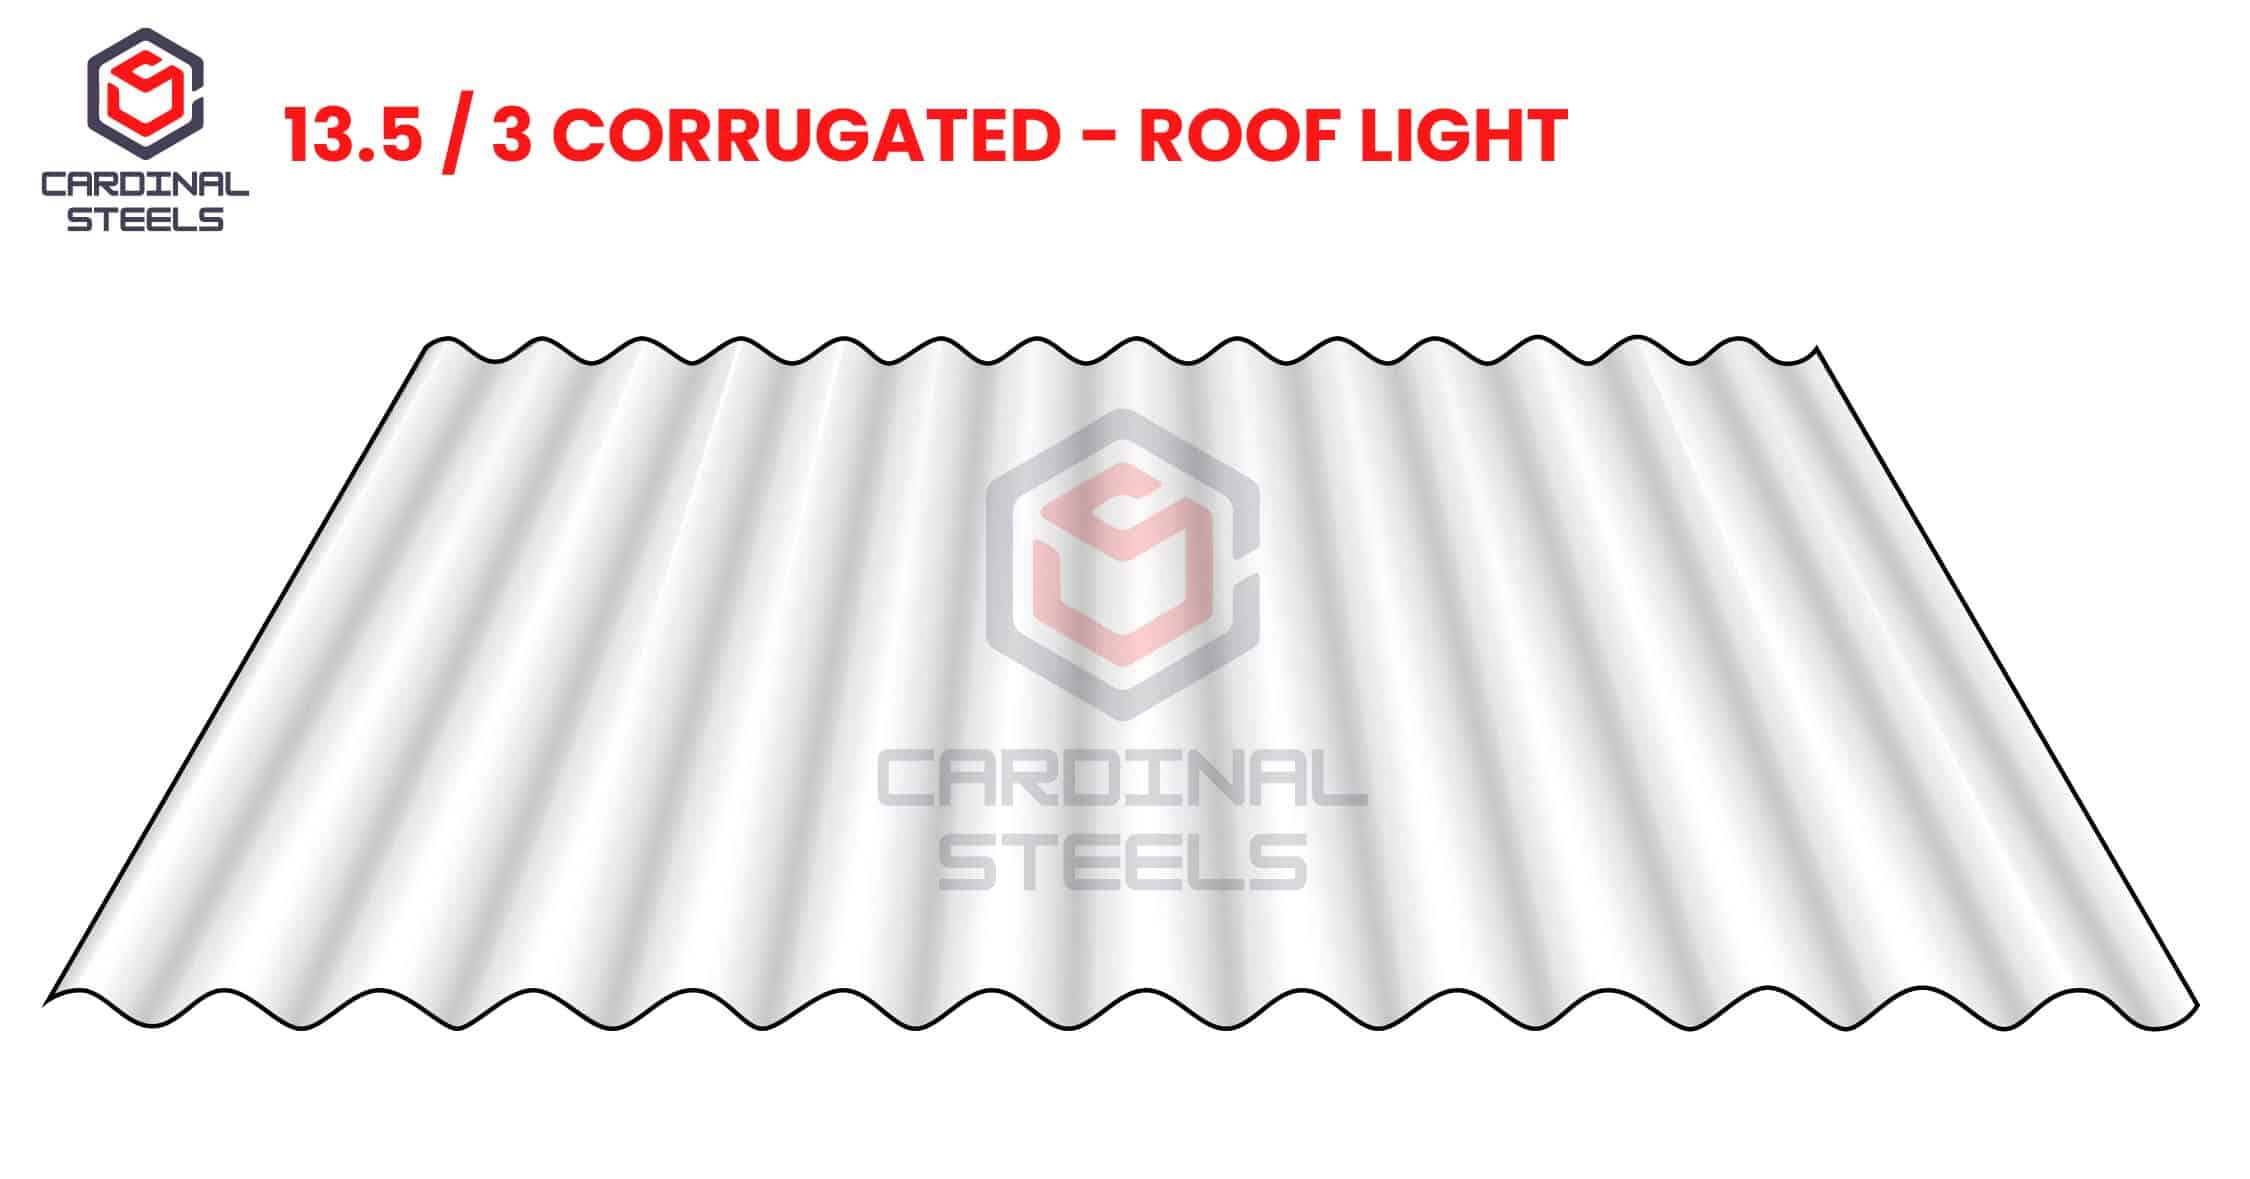
Roof lights increase natural light and offer around 80% translucency. Ensure they are properly supported with steel sheets and suitable purlins.
10. Completing the Roof
Finish by installing the ridge flashing where sheets meet at the apex, followed by guttering or fascia as required. If you’re fitting Trimline, see our Trimline gutter installation guide.
NEED HELP? GET IN TOUCH